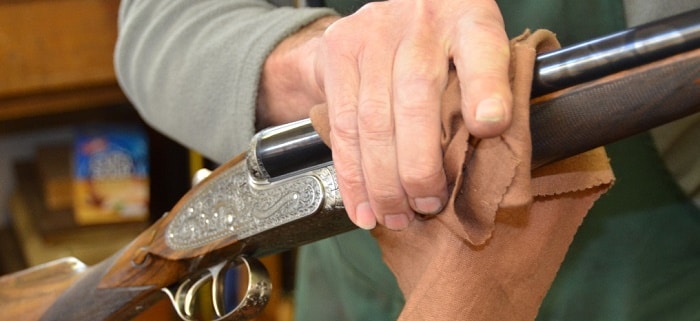
One of the worst things that can happen to your rifle is rusting. If your rifle, or any firearm, rusts, it can become virtually unusable.
Bluing is a process used to create a thin protective coat around the steel of your firearm in order to stave off rust and other damage.
However, there are a few reasons that you may choose to remove the bluing from your gun. If you do this, it is very important to know exactly how to do it correctly, because you could easily damage your firearm beyond repair if you are not informed and careful.
In this article, we will discuss the proper methods of removing the bluing from your firearm.
Bluing Removal Products
There are several products that claim to remove the bluing from guns. Many of these products are effective, and not terribly expensive. Here’s the downside, the acids used to remove the bluing are extremely potent and harsh.
There is a risk of serious injury, so be very careful and follow all of the safety instructions. Another con when it comes to using bluing removers is that they are not very good for the environment.
Sandblasting
If you happen to have the necessary equipment, or if you have the funds to purchase it, you can sandblast the bluing off of the gun. However, there are inherent risks involved.
First of all, if the sand is being blasted with enough force to take the bluing off of steel, it is more than enough force to cause serious injury to a person. Second, the equipment to do the job is not cheap.
You may end up spending quite a bit of money on something you may not use more than a few times. If you have the cash, and maybe some other uses for the equipment, it might be worth the investment.
The Vinegar Method
While there are varying ideas on the best way to execute this particular method, most people agree that it is very effective for the amount of money you’ll spend.
Probably the best part about this method of removing bluing is the low price.
Whatever the cost of a large bottle of vinegar is at your local grocery store, that’s all it is going to cost you. This is actually a very simple process, but here are the steps for the two variations on how this method is usually done.
Step 1: Break the firearm down completely. The firearm should be fully disassembled, leaving no part attached to another if it can be separated.
If you don’t know how to do this, there is almost certainly a tutorial somewhere online, just search the make and model of your firearm.
Step 2: Fill a large bowl or bucket with vinegar. It is highly recommended that you do this in a garage or outdoors, as vinegar has a particularly potent odor that can be difficult to get rid of.
If you must do the work indoors, make sure the room is well ventilated.
Step 3: Soak the gun in vinegar for 30 minutes.
Step 4: Check the gun and see if the bluing is dissolved. If it is still there, rinse the part and repeat the process with the same vinegar. If it is dissolved, rinse the part.
The second method is more or less the same as the first, except that you should heat the vinegar in the microwave before soaking the gun in it. There are a few warnings you should heed for this method.
One, don’t breathe in the fumes from the heated vinegar, it will make you cough terribly. Also, do not put the metal parts in the vinegar before heating it.
Putting metal in a microwave is a recipe for disaster. Many people claim that heated vinegar will remove the bluing much faster.
These methods should be quite effective for removing bluing from any firearm. As always, remember to put safety first.
